Installation
Installation process.
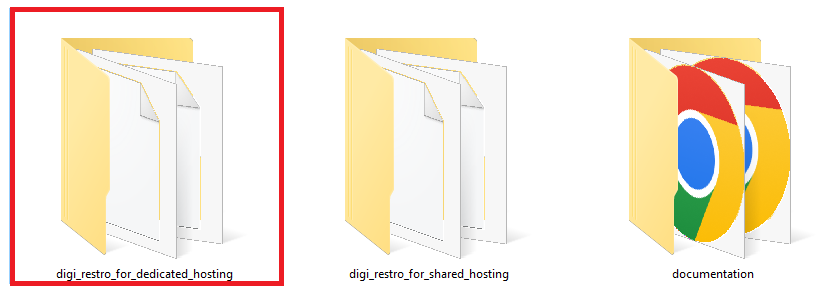
Once you extract code files, you will see the folders as show on below image.

Now go to "digi_restro_for_dedicated_hosting" directory and create zip of files from "digi_restro_for_dedicated_hosting" and then Extract "digi_restro_for_dedicated_hosting.zip" file on current directory
Requires PHP Version: >=8.0.2 & Imagick PHP Extension
The following process will be used to install admin dashboard using package manager
1. Server Requirements: https://laravel.com/docs/9.x/deployment#server-requirements
2. Install php package manager Composer : Please install latest version of composer from https://getcomposer.org
3. This project is using Laravel version 9.x. https://laravel.com/docs/9.x
4. Copy laravel folder from themeforest bundle and extract to your suitable directory or folder.
5. Open terminal or command prompt with installation directory/folder.
6. Install PHP dependencies:
composer install
7. Create new .env file from copying
.env.example
Note:- Fill the database connection details in ".env"
                                                DB_DATABASE=DATABASE_NAME


                                                DB_USERNAME=DATABASE_USERNAME


                                                DB_PASSWORD=DATABASE_PASSWORD
8. Generate laravel app key
php artisan key:generate and php artisan storage:link
9. Generate database and admin login
php artisan migrate --seed
System default login.
Email: admin@menu.com
Password: Admin@123#
10. Run command php artisan serve to
start php server which will run laravel or if you are using other server apps
like WAMP, XAMP or MAMP, you can
follow that guide.
11. Set serve url to .env
APP_URL=http://127.0.0.1:8000
php artisan config:clear
In case if you have any problems or query then please contact us
